OPENSOURCE HARD- AND SOFTWARE FOR NETRUNNER, HACKER AND NERDS
KYB3R.ORTHO >>>
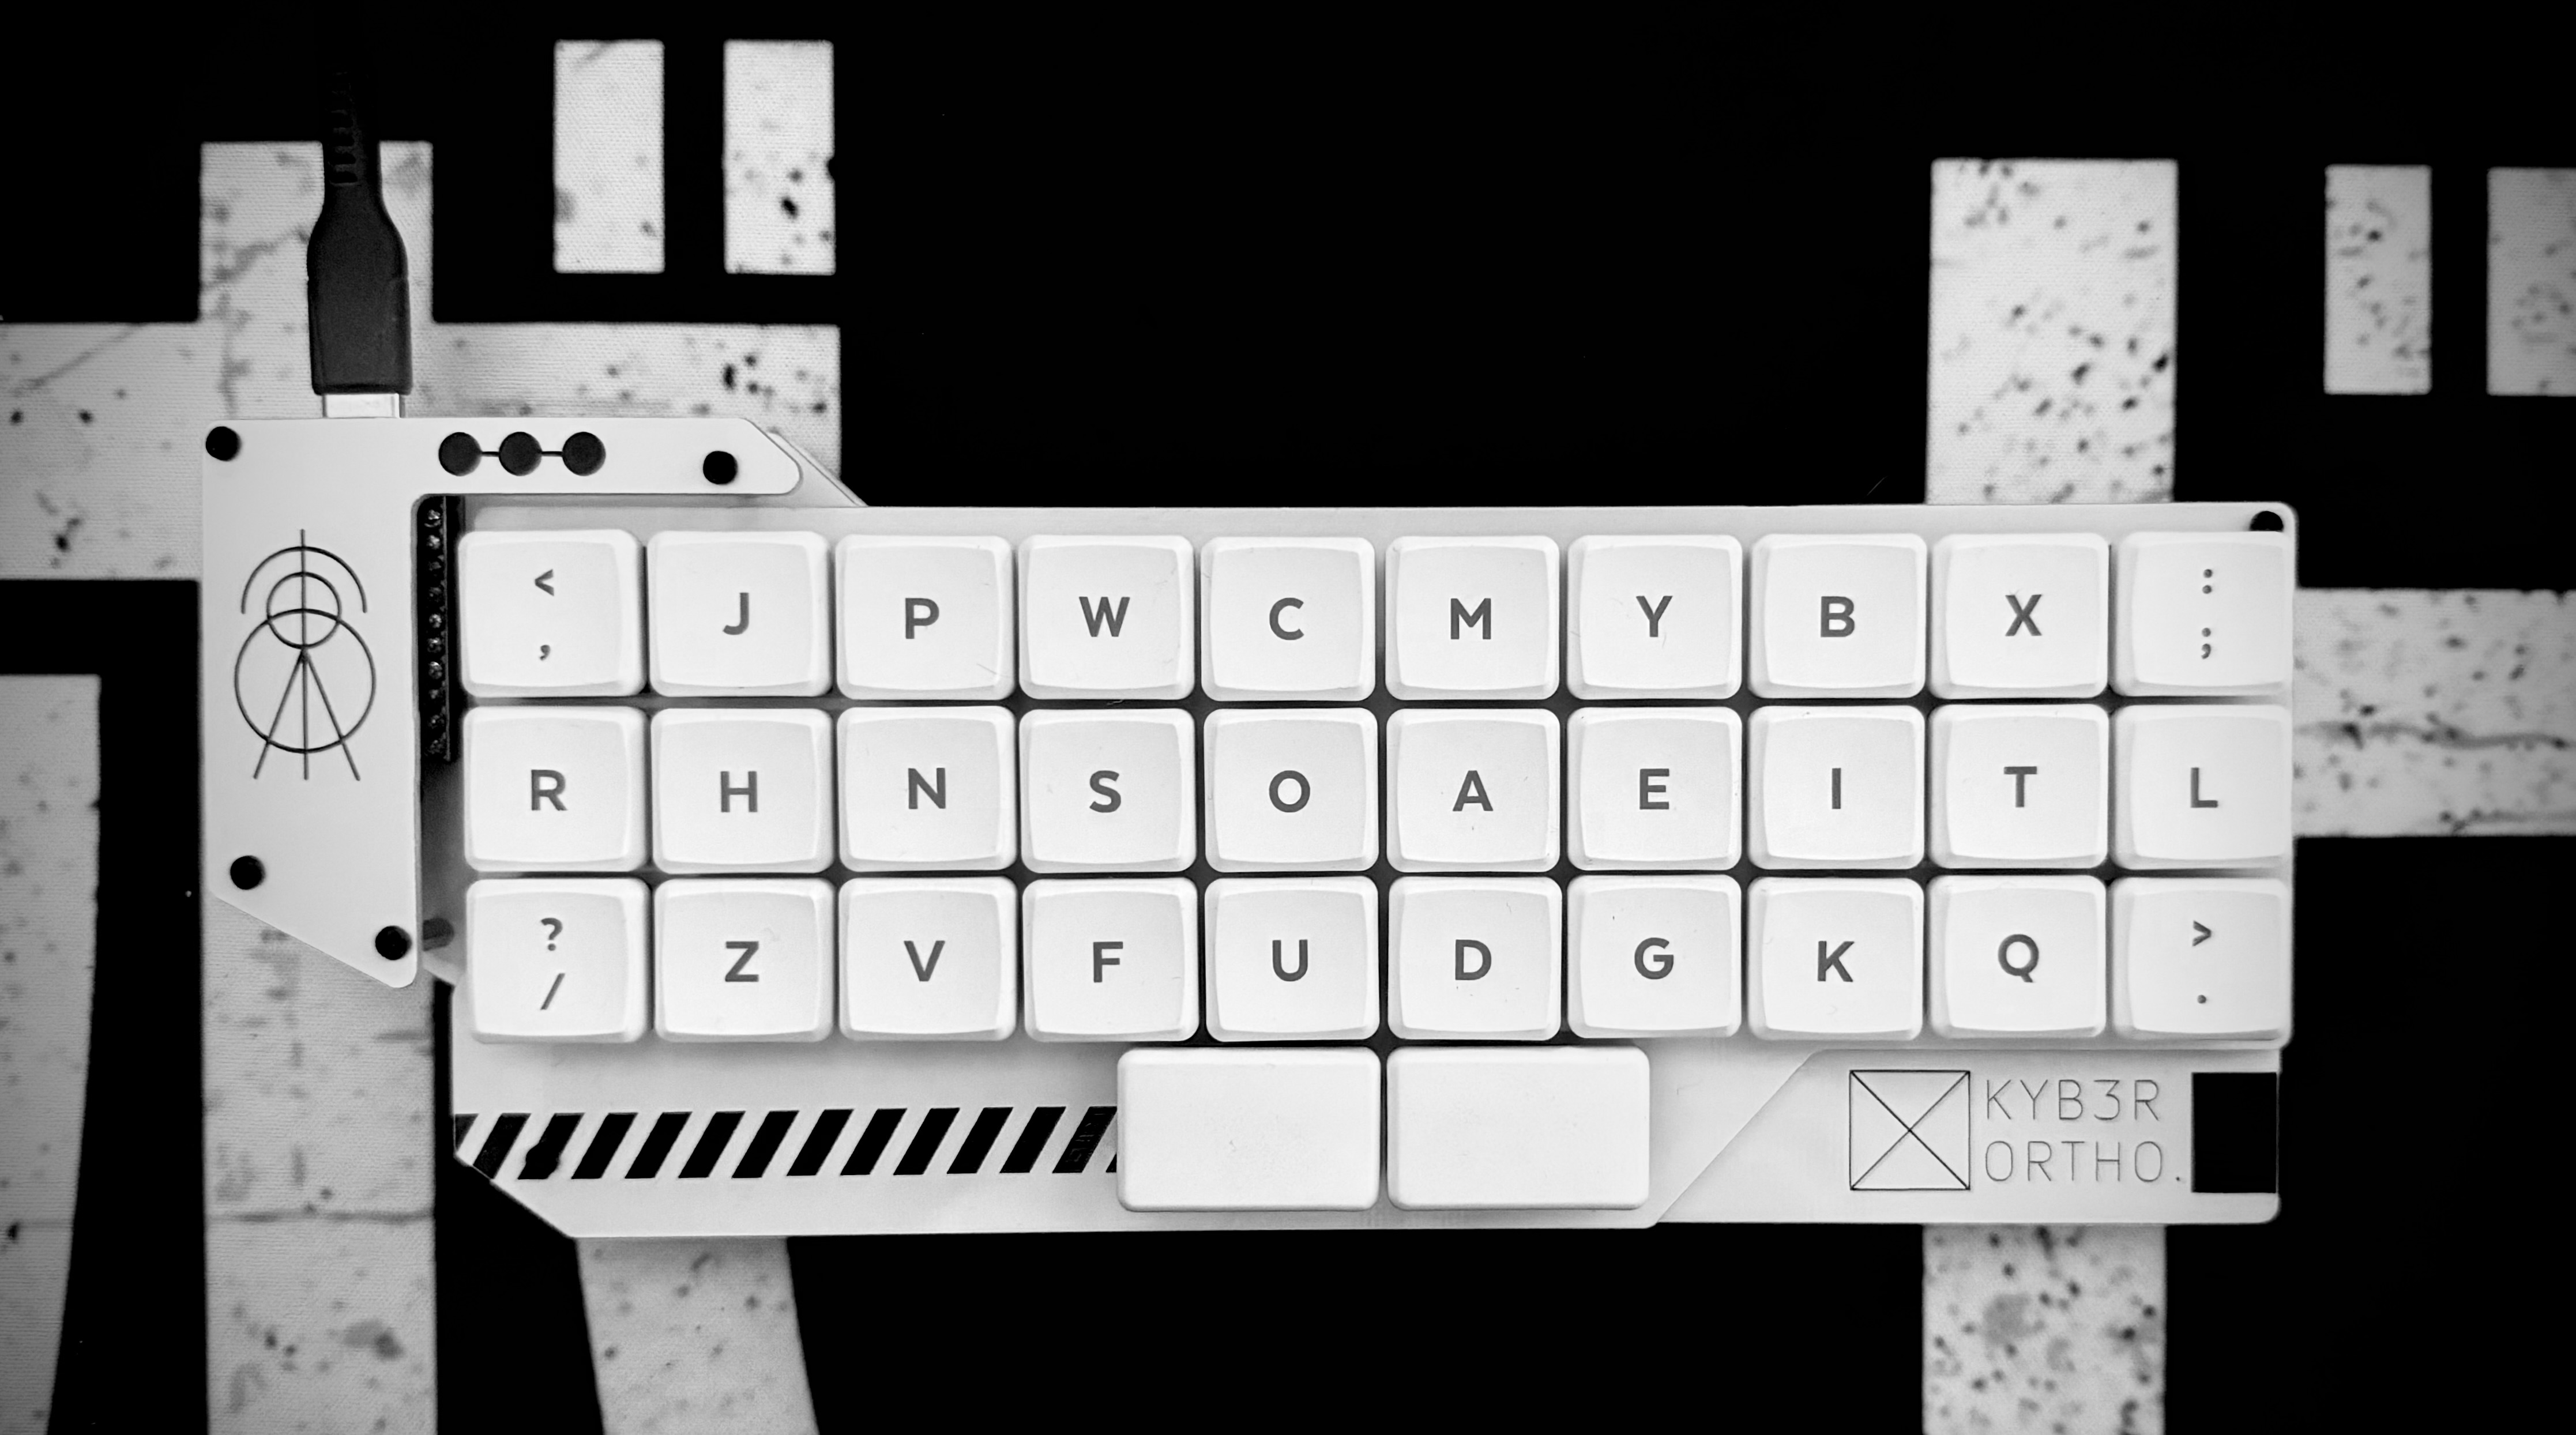
Every Netrunner need an input-device to hack the planet. I started to play around with KiCad and Keyboard-PCBs. The first member of the KYB3R-Family is the [KYB3R.ORTHO]. The [KYB3R.ORTHO] is a 10x3+2 ortholinear input device that uses as few parts as possible. To save deskspace, the [KYB3R.ORTHO] is equipped with low-profile switches.
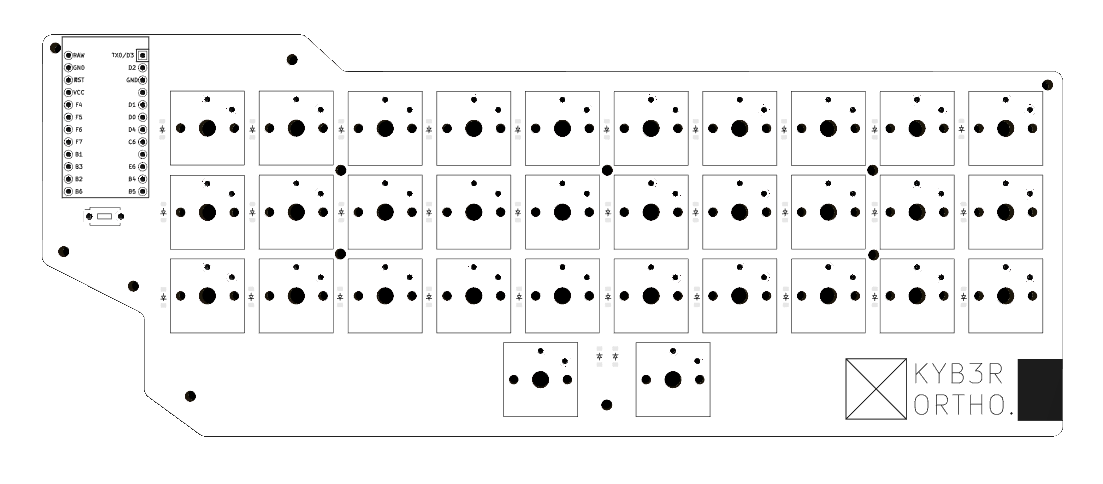
[01 - BOM]
To build the [KYB3R.ORTHO] you just need the following parts, a solderiron and some solder.
[BOM]
[x01] - Pro-Micro-C Microcontroller
[x01] - PCB
[x01] - Bottom-Plate
[x01] - Switch-Plate (optional)
[x01] - 3D printed frame (optional)
[x32] - SOD123 SMD Diodes
[x32] - Kailh Low-Profile Switches V1
[x30] - LP compatible Keycaps (1u)
[x02] - LP compatible Keycaps (1.5u)
[x24] - M2 scews
[x12] - M2 Standoffs 7mm (f/f)
[x04] - M2 Standoffs 7mm (m/f)
[x02] - M2 Nuts
[x01] - Resetbutton
[02 - BUILD GUIDE]

[01] Solder the SOD123 diodes to the PCB
[02] Solder the Sockets to the PCB
[03] Place the Pro-Micro controller with the parts faceing down on the sockets. Use pins for easy removal of the Microcontroller
[04] Solder the pins to the Microcontroller.
[05] Flash the firmware to the microcontroller and test every key for functionality.
[06] Screw in the spacer to the backside of the PCB.
[07] Screw in the switchplate and place the switches in it.
[08] Solder the switches and put your keycaps.
[09] Screw in the Bottomplate und the Little piece over the Microcontroller.
[03 - Firmware]
The [KYB3R.ORTHO] works with the QMK firmware. Just copy the folder to your local QMK structure and run the following command:
qmk compile -kb kyb3r_space/kyb3r_ortho -km default
[04 - FILES]
Here you can find all the files:
[LINK] - GITHUB